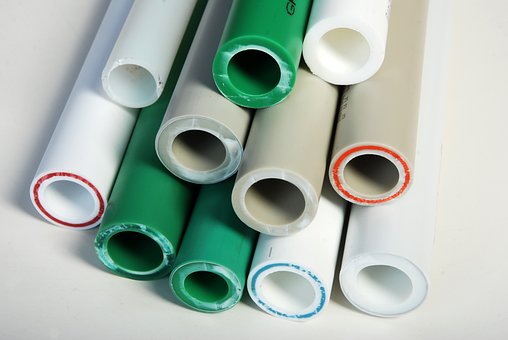
Polyvinyl chloride pipes have been in use for more than 80 years. They are arguably one of the most widely used and adaptable plastic piping. Not only is PVC the third-most common synthetic polymer, but it is produced and utilized at a pace of 40 million tonnes annually throughout the world.
As of 2019, the global market value of PVC pipes was estimated to be approximately 58.88 billion US dollars which is expected to grow to 101.62 billion US dollars by 2030. This much-expected rise indicates an increasing demand for Polyvinyl Chloride pipes!
You will most likely find PVC pipes as a conduit for water for most infrastructure and construction purposes, such as manufacturing sewage pipes, irrigation, and water mains.
PVC pipes are widely used because they are durable, lightweight, and easy to install. However, despite its durability, PVC pipes can still leak or break.
You can repair the pipe for most PVC problems to stop the leak. However, the pipe might need to be replaced if the damage is too severe.
Hence, we have outlined five options for you so that you know how to repair PVC pipes in the ground easily.
Typical Causes of PVC Leaks
But, you must be wondering, why are your PVC pipes leaking? To fix the problem, it is important to understand why it may be occurring in the first place.ta
- Faulty Installation
A leak may develop if a PVC fitting is not correctly attached to the joining pipe. This is typically brought on by a fitting that is too loose and allows water to leak through.
- Over-Exposure To Sunlight
Unprotected PVC pipes exposed to the sun for an extended period of time become brittle. To avoid damage, either paint them or purchase a covering.
- Debris and Surface Soils
The PVC pipes may become damaged due to friction caused by rocks and other soil particles.
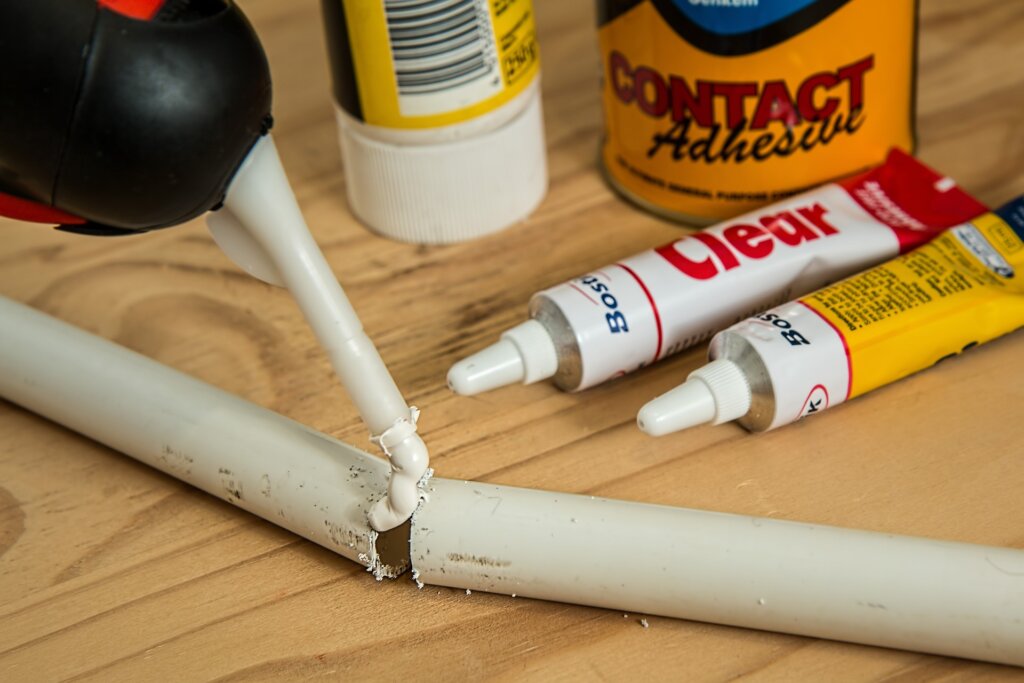
- Inappropriate Adhesive Glue
To prevent premature deterioration, make sure you choose the right PVC cement. Make sure the adhesive is intended to stick to PVC by reading the label before choosing it.
Let’s hop on to the guide to repair PVC pipe leakage!
How to Repair the Ground-Mounted PVC Pipe?
Here are some ways to DIY your underground PVC pipe repair at home without contacting a plumber.
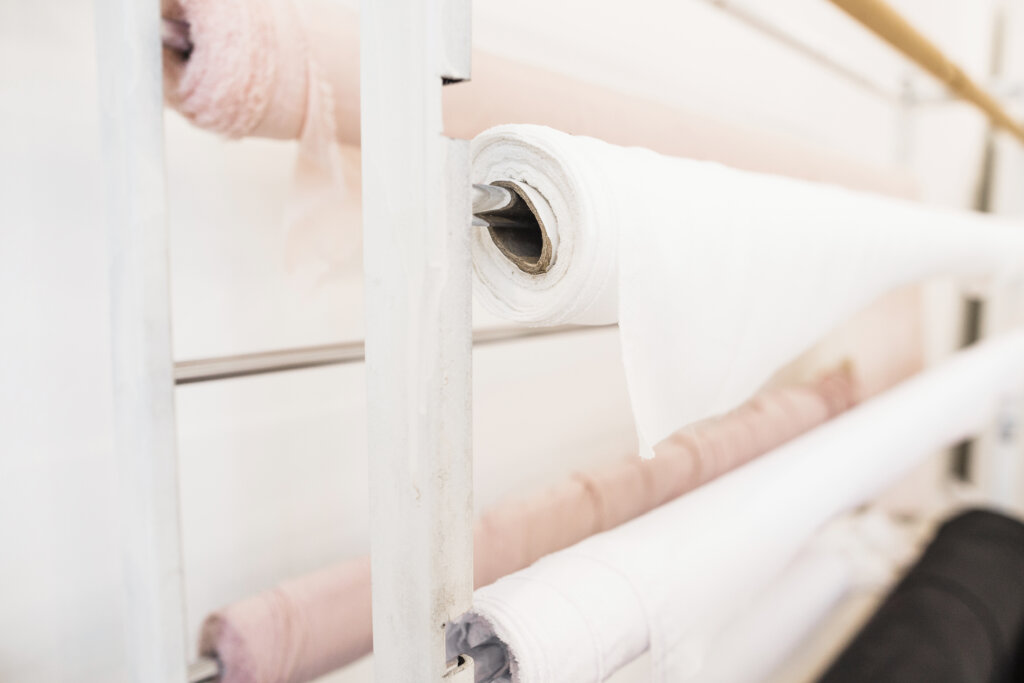
- Pipe Repair Tape
Self-fusing, rubber, or silicone repair tape is gooey, sticky, and flexible. It is among the best methods for repairing minor leaks.
To effectively use it, stretch and wrap it around the affected area to apply. The tape creates a strong adhesive that closes off the leak’s source. Moreover, you can wrap it spirally to cover the entire surface of a pipe to conceal multiple leaks.
-
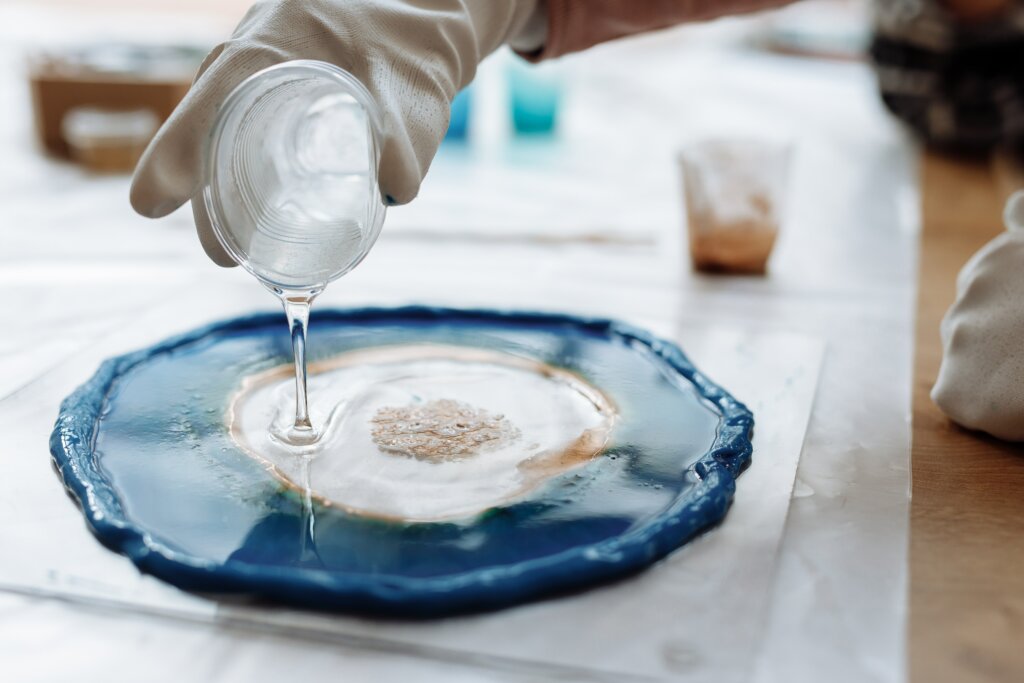
Fiberglass Cloth
For a more long-lasting fix, use fiberglass resin cloth. Start by cleaning the area around the leak or which was damaged.
Then, lightly sand the surface to become more sticky, similar to the resin tape repair. The damage can then be covered with the resin cloth.
Next, start the resin curing process by shining a UV lamp directly onto the pipe or exposing a portion of the pipe to direct sunlight.
- Epoxy Putty
Epoxy for repairs is made of resin and hardener. After being combined, these elements fill gaps and provide a watertight seal.
Epoxy putty is perfect for repairs in small locations. Especially when using wrapping tape is impractical.
If necessary, mix the liquid or putty as directed by the manufacturer. After that, apply the epoxy and give it 10 minutes to cure. Allow water to flow through the pipe after curing to check for leaks.
Step-by-Step Guide to Repair Underground PVC Pipe
- Turn the water off at the PVC pipe’s primary shut-off valve. Find the subsurface location where the PVC pipe is dripping.
- You must carefully dig a trench along the pipe’s location until you find the leaky pipe.
- Cut the pipe 1 inch to the left and right of the damaged region with a ratchet cutter or hacksaw.
- On each segment of pipe that was hacked, dry fit the two PVC fittings.
- Cut the new PVC pipe section. Remove any shavings from each end by scraping.
- Apply cement or PVC priming solvent to the exterior of the current pipe and the inside of the fittings on the replacement pipe.
- Then, adhere PVC pipe glue or cement to the old, exposed PVC pipe and all over the interior of the new fitting.
- Wait 10 minutes for the cement or the glue to dry down.
- Restart the water flow through the pipe, then check for dampness or any other suspected leaks by running your palm along each joint.
- Once you are sure that the PVC pipe is fully operational, you can cover the area back with dirt.
Wrapping Up
Ruptured underground pipes can be a nuisance and possibly the last thing any individual or household would want to deal with. Therefore, it is important for you to keep a close eye to ensure your pipes are in good condition.
This entails being wary of where your plants are growing if your underground PVC pipes are located in or near your lawn. By doing so, you can avoid them growing into your pipes.
Additionally, immediately locate and repair any leak, no matter how minor. A stitch in time saves nine!
And, with our step-by-step guidelines on how to repair underground PVC pipes, you’ll have it fixed in a jiffy!