Is your child’s room overflowing with toys and other accessories? OR is your garage constantly a mess, and you want to discover a solution to put everything neatly and systematically?
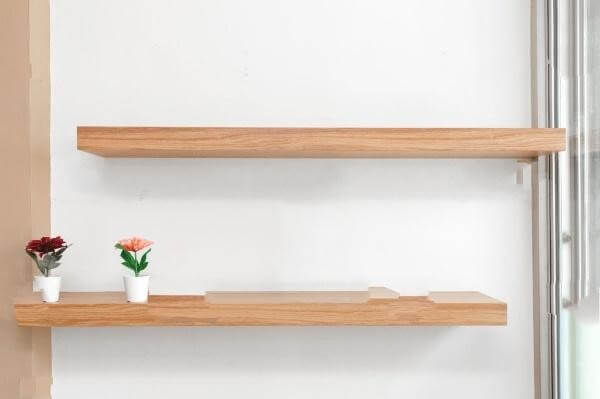
Well! Hanging floating shelves is the best option to keep things organized.
The first question you might have thinking is, what are floating shelves?
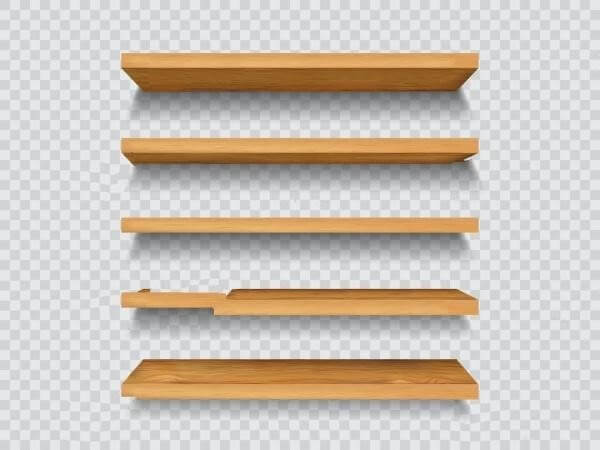
As the name indicates, a floating shelf hangs on a wall with no (or less) visible support. It’s as stylish, dramatic, and functional as more complicated-looking shelves.
Floating shelves maintain support provided by rods that slide into holes made onto their rear edges. If the floating shelf fits into its place, it is due to the support provided by wooden cleats affixed to the wall and fitting into a depression along the shelf’s ends and rear edge.
You can use various materials such as wood, plastic, or metal to make them float. You may use this space to keep things organized.
Did you know? As per Statista, In 2013, the overall unit sales of the home organization and storage market in the United States were around 489.2 million US dollars.
And it is predicted that the Floating Shelves Market has the potential to develop at a CAGR from USD 20 million in 2020 to USD 200 million by 2026.
Dataintelo.com estimates that the floating shelves market worldwide will grow at 7.5% CAGR between 2022 and 2030, from USD 1.02 billion in 2022 to USD 2.06 billion by 2030. The global floating shelves market is expanding due to the rising demand for elegant storage solutions and a growing urban population.
Furthermore, the increasing trend of house remodeling and renovation is boosting the world toward the floating shelves market.
If you have drywall and want to install a floating shelf, this article will walk you through the process of hanging floating shelves on drywall.
Follow our instructions to hang elegant floating shelves safely and accurately.
Tools And Materials Required:-
Before we begin, let’s double-check that you have all the necessary tools. Check out the equipment list below to ensure you’re ready to go!
- Your shelves (obviously)
- A floating shelf bracket
- A stud finder (the sort for walls!)
- Wall anchors.
- Screws
- A level
- Measuring tape
8 Steps to Install Hanging Floating Shelves
- Get familiar with your wall
- Know what’s behind the wall
- Make a mark in your space
- Make your marks more visible
- Install the bracket
- Attaching the bracket
- Place the shelf
- Fix the shelf firmly
1. Get Familiar With Your Wall
Your first task will be to determine which wall you have. If you already know it’s drywall, then it’s good.
If you are unfamiliar with the wall, it is best to determine what kind of wall you have before installing the floating shelf. The type of wall determines the installation.
For instance, If you want to hang floating shelves on masonry brick walls, all you need to do is drill, and the shelves are all set for the display.
However, in the case of drywall, the process is different. You need to go with a floating shelf bracket and anchor plugs.
For illustration, If you’re installing your floating shelf bracket to a wall stud, you won’t need any anchors. When dealing with plastic or drywall, additional support is required.
You won’t be able to use wall plugs for the drywall as you would for a solid brick or masonry wall. In the case of drywall, the drywall anchor plugs are the best option.
-
Know What’s Behind the Wall
The first thing you must do after understanding the type of wall is to double-check that your place is free of obstructions before drilling.
The electric wires and water pipes that run through your walls may cause severe problems if you drill anywhere in the wall.
But how do you know what’s behind the wall?
The process is simple: Buy a digital detector that will detect electric wires and water pipes.
Examine it and decide which areas are safe for drilling or installing anchor plugs.
-
Marking the Space
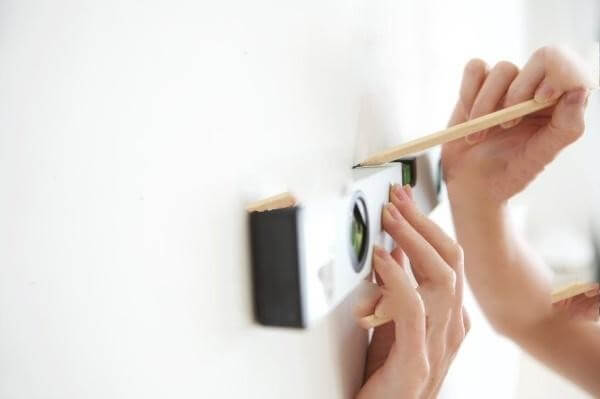
You have probably already decided where to place your shelves in your head, but you may haven’t pictured them in the correct location. Now grab your tools( tape measure, level, and pencil), and let’s get to work.
Trace an outline of where you want your shelf to be using the right length and breadth of your shelving. If you’re dissatisfied with the location, just remove the outline and reposition it.
We recommend getting a spirit level for perfect shelf alignment. After getting the pencil marks, you must double-check the alignment with the spirit level.
-
Make Your Mark More Visible
After you’ve done with the pencil mark, make it more visible. To accomplish this, make a small dent in the center of the pencil marks before drilling the holes.
Now your question is; Why do we need to make such a small dent?
If you place your drill bit on the pencil mark and try to drill holes, your drill will most likely slip. However, the drywall makes things easier.
However, in some cases, the screwdriver may slip. A small dent will help you a lot in stopping the slipping.
-
Attaching the Brackets
So you’ve finished preparing for the drilling. It’s time to secure the drywall screw.
Keep in mind that other fixes may differ from this one. Because you cannot add a shelf to the drywall as you can to other walls.
Drilling will be required to add wall plugs for the shelf installation. However, anchor plugs are the most effective choice because we have to deal with drywall.
Cover the marks to prevent the plaster from breaking. For the job, use Sellotape.
Then you may screw in the fixings! Once you have finished connecting the wall fixing, go to the following step.
-
Install the Floating Shelf Brackets
Once you have secured the anchor plugs, you can proceed to the next steps. It’s time to attach the wall shelf bracket.
Hold it and move it to the proper spot. You may use the drill in addition to the screwdriver.
Choose anyone and then insert the screws into their proper locations. All you have to do is to ensure that the bracket is secure and fit.
-
Place the Shelf
You’re almost through with the mounting. Once the bracket installation is complete, just slip the floating shelf onto the bracket.
-
Fix the Shelf
So the shelf is already on the bracket, and you should be prepared to secure it firmly in its place. Examine the bottom of your floating shelf.
Some fastening will keep the shelf in place. It can help to keep the floating shelf from sliding off the shelf mount while working.
There will be some gaps. All you need to do is get some screws that will fit and fill in the holes.
In this instance, you must screw upwards to maintain equilibrium. Check to see whether it is moving or unstable. If not, then you’re done!
Hang Floating Shelves to Make Your Living Space Unique
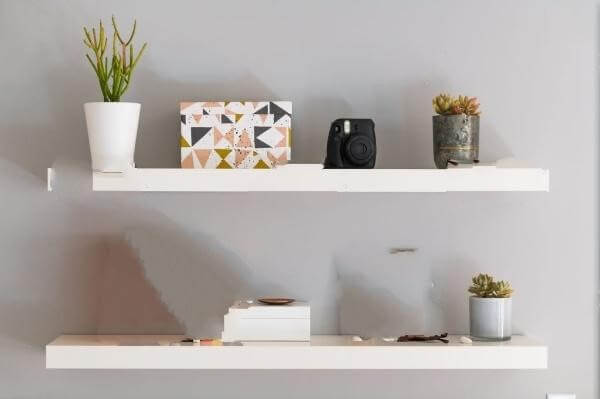
We know that hanging floating shelves on the wall is an effortless and effective way to add functionality, flair, and storage space to your home. You can use it to add more storage space to your home, whether it’s your kid’s room or your garage.
No doubt, it is a time-consuming and skillful job, but considering the peace of mind that these storage spaces give if you have kids in your home, any homeowner would be wise to invest in one of these projects.