As we know, everyone has their own choices, preferences, and intentions. So, Every house also has a distinctive style.
Choosing (or creating) the perfect residence for your preferences is a vital aspect of the process, from quirky murals to neutral shades, several floors, and open-floor designs. This approach entails considering all aspects of your home, including the ceilings.
People have had different thoughts regarding ceilings. Should it be bright or neutral? Will it be ‘textured’ like popcorn?
While there are numerous possibilities for ceilings, the popcorn style remains high on the list, despite changes in design trends throughout the years.
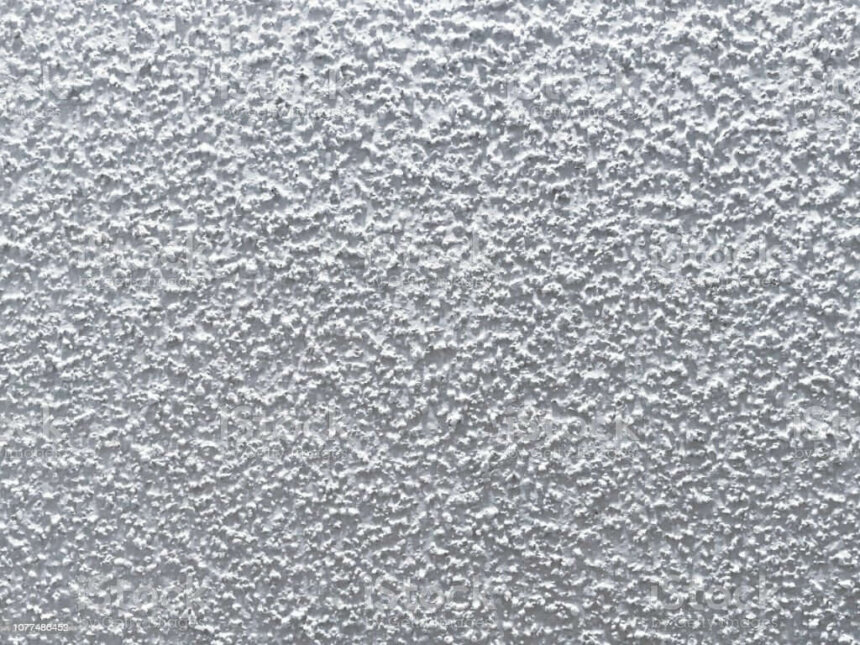
What is a Popcorn Ceiling?
Popcorn ceilings (also referred to as acoustic or stipple ceilings) are a kind of textured ceilings style that resembles grains of popcorn, depending on the ceiling color (usually white, cream, or softer colors).
The initial goal, somewhere during the 1920s and 1930s, was to erect a sound barrier (hence the acoustic-sounding name).
Layers of paint—sprayed on, sponged on, or painted on—create a variegated, thicker appearance. The initial intent of popcorn ceilings was to make living comfortable.
Popcorn ceilings originated as a low-cost way to make a home seem attractive without the additional effort of patching, painting, sanding, repainting, and regular care. After all, completing drywall with the joint compound is a time-consuming job, and popcorn texture conceals any flaws that could otherwise be evident.
The popcorn texture saves time and money but also offers an intentional-looking surface. Instead of spot-patching to make the ceiling sound great, the entire surface has this textured aspect—and when the popcorn style became popular, it became the norm for many places.
Another advantage of popcorn ceilings is the absorption ability, particularly soundproofing. The ceiling’s rough texture dampens vibrations and decreases echoes.
Popcorn ceilings fell out of favor in the 1970s, notably in the United States. Asbestos is one of the binding agents in popcorn ceilings and has led to mesothelioma, cancer, and other issues.
Although the chances have decreased over time, there is still a potential that asbestos might be detected in an older property’s popcorn ceiling, especially if the material is disturbed. If you’re worried, it’s best to be safe and get your house tested for exposure.
If you want to remove the popcorn ceiling, follow this method for a quick result.
7 Easy Steps To Remove Popcorn Ceiling
- Asbestos test
- Preparation for popcorn ceiling
- Gather your equipment
- Spray on the ceiling
- Scraping
- Fixing the damaged areas
- Applying sand, primer, and paint
1. Asbestos Test
It is the most salient problem to be aware of if you want to remove the popcorn ceiling. In early 1970-1980, out of the most crucial element in popcorn ceilings was Asbestos.
It has various qualities like soundproofing and fire resistance.
But do you know asbestos is harmful to us?
It contains mesothelioma, cancer that affects the lung lining and also causes many more health issues. According to mesothelima.com, asbestos constitutes a threat when it is unfolded and concealed.
But home remodeling, starting new projects, and deterioration can reveal asbestos fibers and expose the homeowner that it’s dangerous to come in contact with asbestos.
Before starting working, it is crucial to conduct a test on whether your popcorn ceiling contains asbestos or not. Our advice is to call a professional for this test, but you can also do this test by yourself.
There are several home testing kits available in the stores. But, if you want to do the test.
You have to follow the safety precautions.
Safety tips: For instance, you must wear masks and quality safety eye protection while collecting the samples. If you detect asbestos, it’s good to call a professional and not to go further to remove the popcorn ceiling without any proper assistance.
Instructions: Do not disturb or attempt to remove it until you have had an asbestos examination conducted by a professional. If your test result is positive for a carcinogen presence, you must work with a professional to remove the ceiling.
2. Preparation for Removing the Popcorn Ceiling

If your asbestos test comes negative, your ceiling doesn’t have asbestos. Now, you can start preparing yourself for the removal but always consider taking safety precautions.
Precautions: It’s good to wear a mask and goggles. Now remove all the furniture or anything valuable.
Cover your wall and floor with plastic sheets. It’s not a better choice to use cloth for this purpose as the fabric is not the best waterproof.
Open the windows for ventilation and turn off the electricity in the room.
3. Gather Your Equipment
This method doesn’t require any expensive tools. The necessary popcorn ceiling removal tools are;
- Putty knife
- Texture scraper
- Plastic sheets
- Gardener sprayer
- Contactor bags
- Mask
- Working gloves
- Safely eye protection goggles
4. Spray on the Ceiling

A moist ceiling is quicker to scrap than a dry one. So start wetting the popcorn ceiling to soften the material using a garden sprayer.
Lightly water the ceiling in five by five feet sections with a sprayer, and wait for 10 to 15 min to allow the water to infiltrate the popcorn. Remember, too much soaking can cause damage to the ceiling.
If you want to work quickly and well, try to work in small sections. Otherwise, before reaching the other areas, they will dry.
5. Scraping

Scrap off the texture material after the water has penetrated the ceiling.
You can use a putty knife to scrape the texture.
Gently run the putty knife over the ceiling. Move all around the room until all the texture material takes off.
You might need to move twice over more rough areas.
6. Fixing the Damage Ceiling
Once the popcorn ceiling is clear, now the next step is to fix the damaged popcorn ceiling.
Ceiling scraping inevitably results in gouges, scratches, and shallow holes. Use your scraping tools to apply spackle or dust-control drywall compound to these areas after cleaning them.
7. Applying Sand, primer, and Paint

Once the repairs are dried, lightly sand and apply one coat of primer followed by two coats of ceiling paint.
After painting, let the area uncover to dry. After this, remove the plastic sheeting from the floor and furniture and vacuum the floor.
Don’t forget to dispose of waste. If your waste doesn’t include dangerous substances, you can simply dispose of it in a contractor bag.
Give Your Ceiling a Beautiful Smooth Look

The popcorn ceiling can be unattractive, lessen the worth of your home and even be dangerous for us. Scraping is the perfect solution if you are looking for an easy and quick way to remove the popcorn ceiling from your home.
Remember, when removing the popcorn ceiling, patience and persistence are essential. No doubt, it’s time-consuming, backbreaking, and skillful work.
But, it’s an affordable one. You can also do it yourself by investing some time and effort.
Commit yourself to this method to remove the popcorn ceiling and see how much more comfortable your home feels.